Tuesday, 31 July 2012

Sir Stampalot samples continued....


The weather isn't very promising for the time of the year.... so i thought i would forgo my time at the Allottment and sort some of  the other samples plus a few newer ones
 Daisy's and Butterflies on a acetate overlay, with sparkle Medium, Diamond, Gold, Sage and soft purple.
 Country Road with Dusk till Dawn as a acetate overlay, Black Stars Sparkle Medium on a brayered background with Indian Spice Silkies
 Leafy Swirl border Stencil on a acetate over lay with sage green Sparkle Medium
Butterfly Duo on actetate with Lavender, sage green and blue sapphire.
 Dragonfly Decoupage using Sparkle Medium, on a lacy swirl background using aqua sea sparkle Medium.
 Dragonfly Decoupage painted with inkadinks, then frosting of diamond sparkle medium on the wings,
 Butterfly Decoupage white embossed then coloured with mica powders and gems on the dots on the wings.
 Pansy Decoupage coloured on acetate with Sparkle medium, the extra stamp in the set used with versa mark to create the background,
Decoupage Irises coloured with inkadinks,


I have to say I am no Scrapbooker but i really enjoyed putting these together...

 Poppies and Dragonflies..Stencilling with stencil paint  Red, and Greens then by flipping the stencil over this allows you to stencil both ways to create a field of poppies, I used gold Sparkle  Medium  for the dragonflies ....leafy swirl across the top of the page....
 Wild Flowers  using a mix of colours then touch up the daisies with a pencil gives a little definition, dragonflies= gold and aqua sea, and again leafy swirl across the top of the page....
Butterflies and Daisy's and Butterfly Duo (flowers and branches only)  butterfly's were candy floss and Aqua Sea..


Ok I have been very naughty today . and I'll tell you why......I am currently working on some new designs Christmas Decoupage and Stencils and a fantastic new range of Border Decoupage and Embossables they are sooooo useful, Well ....we have been working really hard for the next QVC program to go out on the 21st of this month time to be confirmed.....sample samples samples...if you have Craft Stamper there are some of the new designs in our Advert (on the back).. Then moving straight back into Drawing..for Autumn etc .... so i have taken a break today to get some blogging done and during this time i have managed to prep up some pictures ready for another 'blog hop' so .... next week ... craft along day by day..with me....

once again thank you to Janice and Andy at Sir Stampalot  and thank you  to all of you, that came to say hello on the day and i hopeI will see you soon with more exciting Products from Imagination Crafts...


All of the stamps, Stencils and colouring products ie stencil paints, silkies and Sparkle Medium can be bought via this link http://www.imaginationcrafts.co.uk/  As soon  as I can I will also give you  some 'sneeky peeks' at some of the new samples ...for the next show!!!! Remember 21 st August 2012  time TBA'wiil let you know asap....

ok now I'm definatley back to the drawing board ....

see you soon Jayne x

Demo Day at Sir Stampalot

A big thank you to Janice and Andy at Sir Stampalot for having me last Saturday for a demo day to Demo Imagination crafts products, including our fantastic Sparkle Medium and beautiful Stencils,I thought i would just show you some of the cards on display,


 Butterfly Blossom Border with Gold Sparkle Medium
 Lacy Swirl full Stencil with Granite black silkies, and Sentiments set Thank you
 Blossom Stencil with Black Stars Sparkle medium with Sentiments set Thank you.
 Gate fold  card using Gold sparkle medium and Butterfly Blossom and Butterfly Duo, sentiment from thank you set
 Dragonfly and Poppies Stencil as a curve over lay, Red ,Sage green and Gold sparkle Medium
 Wildflowers on a Acetate curve, Diamond ,Gold and Antique Bronze sparkle medium Martha Stwert punch for the border

                   Heart leaf Swirl Stencil with gold Sparkle medium and the sentiments are from the Rose decoupage set.


All of these products can be purchased from http://www.imaginationcrafts.co.uk/


I'll be back later with a few more samples that were there from our Decoupage Stamp range and the Summer Stencil range, see you in a while Jayne x

Sunday, 20 May 2012

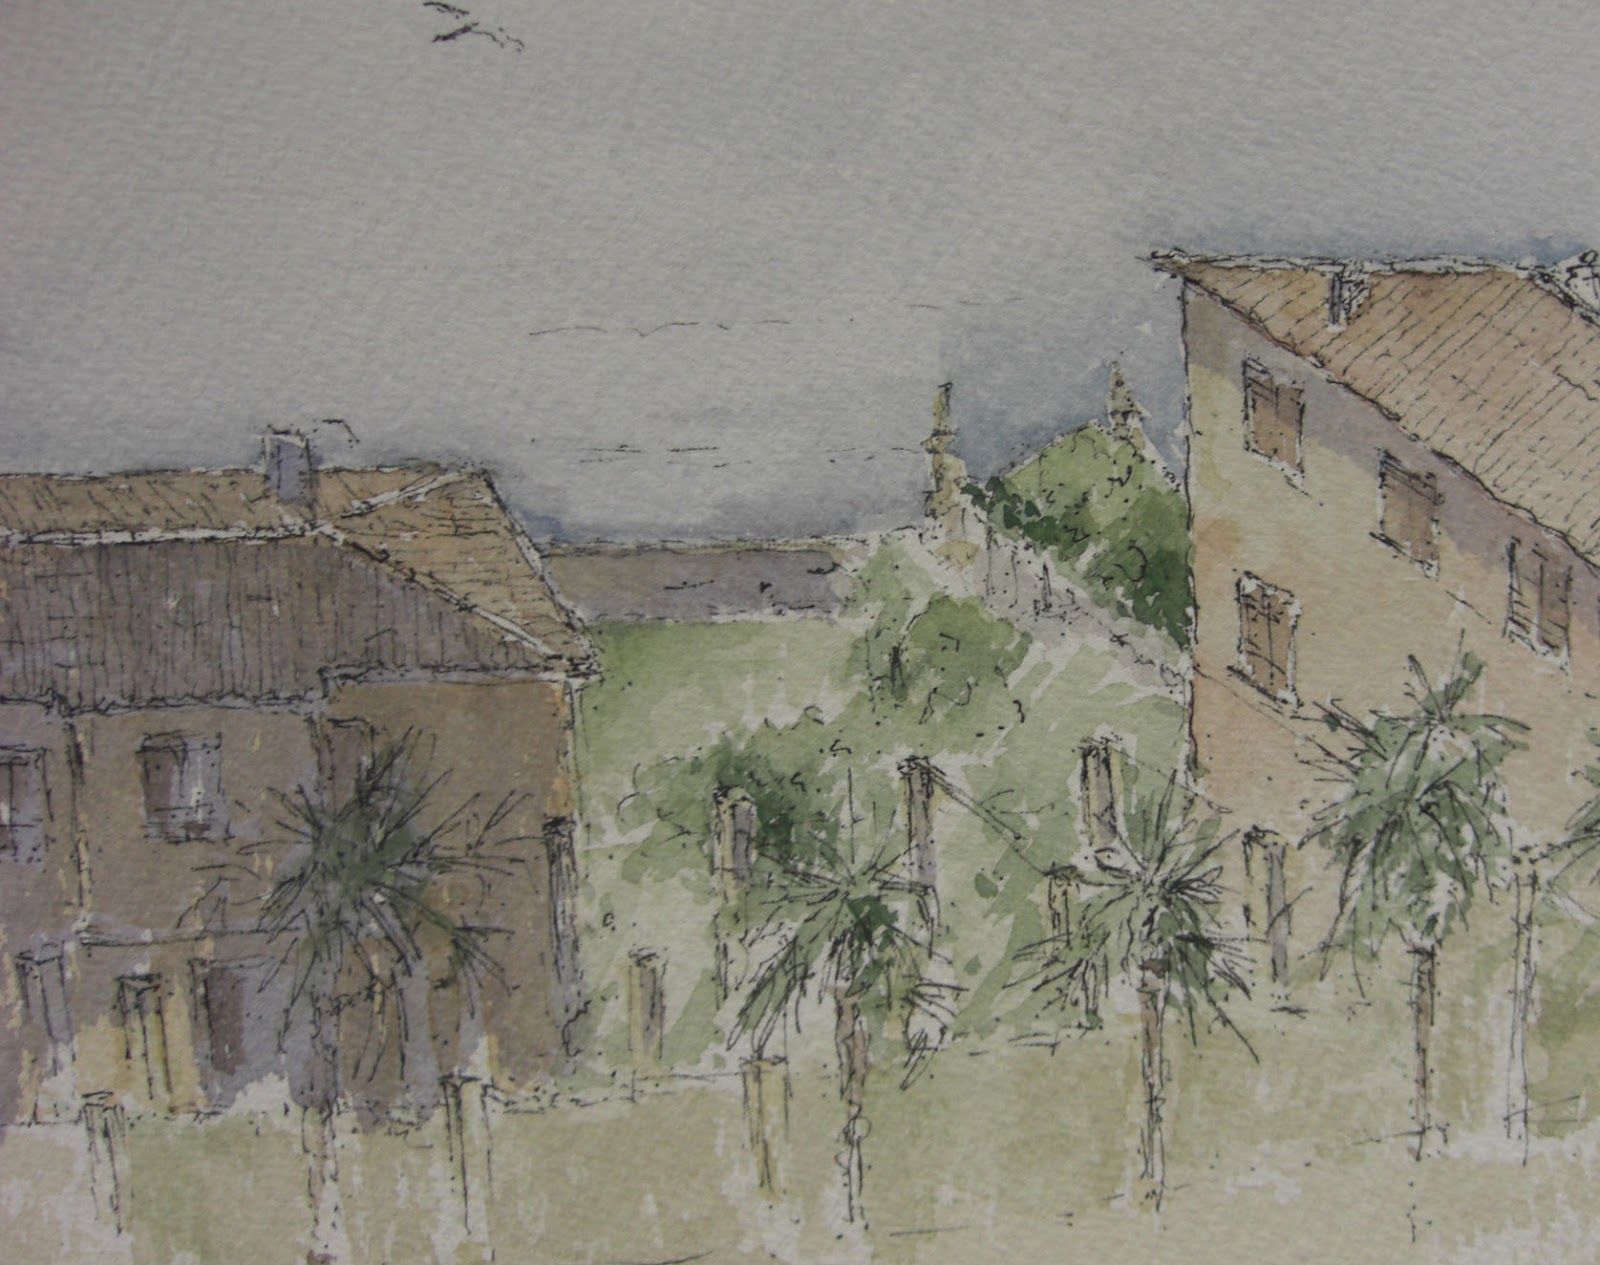
A few Pen and Washes From Lake Garda

The Secret Garden,


 Some of you may know in my spare time I like to paint...Just recently I was lucky enough to go back to Lake Garda with a few Like minded friends and their partners, for a week ....to do nothing but Relax, and while the hours in good company and maybe do a little painting......here are some photo's of the Pen and Washes I managed to finish and as this is a Studio Blog...I thought you would like to see them......( they are mostly sketches that I will use for the Oils,) approx sizes 12 x 14


The Quay side Limone,


Old Doors from the Lemon Groves,

The Old Lemon Groves,

Archway to the waterfall

The Old lemon Groves from the veranda of the hotel


Malchesine Harbour

How many bikes!!!!!!!!! -Riva

Unfortunately I didn't get colour on this as the the ferry was about to leave and we had to catch it back to Limone there were so many bikes I didn't know where to start..


This was the challenge for us all..... what you don't realise is that this was looking down from the Balcony of the hotel onto the Old lemon groves approx 75 feet down...and the lake beyond, not an easy task as all those different angles of the roofs and lemon house pillars,What we called the  perspective  nightmare!!!!!   ( this was my 2nd attempt the first was made into a jigsaw!!!!!!! yes I ripped it up....)

There are others to finish  so...... when I get a little time I would like to get some oils done...

hope you you like ...

Ok back to reality... new designs for Decoupage stamp sets, Brand NEW Border stamp sets,  and Stencils on their way....... keep and eye out on http://www.imaginationcrafts.co.uk/

see you soon...Jayne x

Thursday, 12 April 2012

The Gallery

Hi everyone,
Sorry haven't been back for a while ..... I have been madly busy with the art boards for Ally Pally which are all completed, wrapped and ready to go ....I thought it would be good to turn this blogging session into a gallery...all cards are approx 6 x 6, and as i have taken picture of the whole board, iv'e used my wide eye lens so they may look a little elongated, they all have covers on each sample ,so they do reflect back, but i hope they won't ruin your viewing.....Some of these you will recognise as they are copies of the originals  from the Imagination stand at our last shows....

 From the blog hop in Feb
 New colours of the Sparkle medium and some of the new Stencil Designs
 more New Stencil Designs with Sparkle medium
 Mica Magic some samples put together from the demo's from the last shows,
 Decoupage coloured with assorted mediums Silkies, Pearly Vintage pallet,vellum and chalk pencils,
 Mica magic with Stencils ,embossing using a die embossing tech ( see mics magic).
 Assorted Stencils with the Fantastic Sparkle medium and Silkies
 Decoupage Sets with Sparkle medium
 Multi colour with Stencils and Sparkle medium...( i plan to a blog hop with these very soon)
And lastly Assorted Decoupage stamp sets with assorted colouring techniques, Silkies,Copic and pro makers  and water colouring...

All of the Art work from Stamps To Stencils  used to create these samples are from The Imagination Crafts Products Range, http://www.imaginationcrafts.co.uk/

I would also like to thank Fantastic Ribbons, http://www.fantasticribbons.co.uk/ .For a beautiful range of ribbons and buttons featured on most of these cards..

Hope to see some of you while I'm at the Ally Pally Show at the weekend with  

                                     BJ Crafts  http://www.bjcrafts.co.uk/  Stand 43

Must get back to the designing side watch this space......

See you soon Jayne x


Monday, 2 April 2012

Mica Magic lift out extra

 Hi, as promised from last post ....here are few of the same samples but better pictures  this time


 Butterflies on our glossy card and the background done via Lift out technique see previous post.
 Dragonflies done the same way as above only difference.... i used the Versamark ink pad to stamp a random background using the swirl stamp from the stencil stamping range Bubbles....
 This one is one of my favourites, was again  the same technique by adding mica to the background and then lifting out the ferns and Butterfly from the Butterfly Delight stamp set. i have also added three butterflies over the lift outs....
And the last... using the leaf swirl stamp and the dragonfly from the bubbles and again that fern ( very useful stamp).The dragonfly was stamped onto acetate using Stazon,  and painted on the reverse side with blues from the silkies range..

All of these cards will be at Ally Pally with me... along  with many more and some samples boards that i'm currently putting together for BJ crafts and with a little luck and a fair wind..... i'll be posting them on here soon too..as i plan to finish them and New designs on the way over Easter...So if you need to get some of these products ....you know what to do ...go to www.imaginationcrafts.co.uk

If i get a chance before Easter i would like to get some mica stenciling a fab way of using stencils Mica and your Die cutting machine for embossing ...


so pop back soon ....Jayne x

Wednesday, 21 March 2012

Mica Magic


Hi everyone this is going to be the quickest blog hop, so many of you are interested in the Mica Magic demo's i've been doing at the recent shows i thought i would put on a quick how to do....before i get off to the NEC....


 MICA MAGIC BASICS
 Things you will need,
set of mica powders choose from Brights, Glow lights,or the fantastic new set Nature, Versamark ink pad,large fluffy brush, glossy card stock , Anti static bag, Set of stamps, for this i'm using the Spring Decoupagee set Butterfly, hot spot heat mat, very cheap hair spray...visit http://www.imaginationcrafts.co.uk/  you can see the whole range there

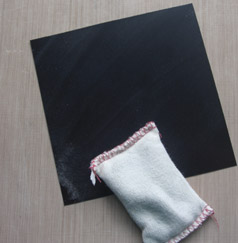
 ALWAYS use an anti-static bag on the card stock before start( this takes away all unwanted marks).
 Now ink up your stamp with Versamark and stamp image onto the black card.
 Sprinkle the mica using the fluffy brush as above... ( mica will go along way so you don't have to use much)
 Now using a stippling motion stipple across the whole image.
 then flick off excess and polish using the same brush, it's a dry brush so will remove all excess mica and polish the image.. you then  MUST use a cheap hairspray to seal the mica, if you don't then the image will smudge.A light spray will be sufficient.

MICA LIFT OUT
 To start cover the card with Versamark directly to the card in a down and twist motion to cover the complete card
 Sprinkle as we did above Mica colours onto the card this time add a little extra as we want to cover the card.
 once you have covered the card it will look like this ...polish slightly to take away excess mica.
 Ink the stamp you are going to use as the lift out image, with versamark
 And lift out the image ,Remenmber to re--ink every time.continue to do this untill it looks like this
Once you have completed the area , Remember to spray with hair spray to seal  the mica...


Here are a few more samples.....


 This one was done using both techniques above....
 The main image was mica in golds on pink smooth card, and i've cut out the butterflies from a demo card and created the back ground by randomly stamping the flower spray image all around, then edged the card with versamark and stippled the mica on ...
 These fushias were colour with Silkies on acetate, and mounted onto a mica painted background...
These Dragonflies were painted with Glitizes on acetate then mounted onto a mica background

Here are a few more samples..... 

hope you enjoy playing....Sorry the images aren't brilliant, will reload them after the show along with some other samples

Don't forget you can see all these stamps, Mica powders, and all the things you will need for this project so pop in at http://www.imaginationcrafts.co.uk/

see you soon Jayne x